
Face Makeup Application Order - The Scientific Sequence for Flawless, All-Day Wear
Learn the ultimate step-by-step sequence for a flawless and long-lasting complexion.
Have you ever spent an hour meticulously applying your makeup, only to look in the mirror a few hours later and find your foundation separating, your concealer creasing, or your blush completely vanished? If this sounds familiar, the issue might not be your products at all. More often than not, the culprit is your makeup application order.
Knowing the proper order to apply makeup is the ultimate secret weapon of professional makeup artists. When you understand the correct makeup steps sequence, you ensure that each product enhances the one beneath it rather than degrading it. This prevents patchiness, facilitates effortless blending, and locks your look into place from morning until night.
The Golden Rule of Makeup Chemistry - Liquids Before Powders
Before jumping into individual steps, it is essential to understand the structural foundation of cosmetics. The absolute golden rule of any face makeup routine is - layer liquid and cream products first, then lock them in with powders and setting sprays.
Why is this rule non-negotiable? It comes down to basic texturing and surface tension. When you apply a wet liquid or emollient cream on top of a dry powder, the powder absorbs the moisture instantly. Instead of blending smoothly, the liquid grabs onto the powder particles, creating clumps, streaks, and a muddy, texturized appearance known in the beauty community as caking.
By laying down all your wet products first, they melt together harmoniously into a cohesive, skin-like layer. Once that layer is perfect, powders are introduced to set the oils, eliminate unwanted shine, and seal the products underneath.
Step-by-Step Face Makeup Routine
Let’s walk through the ultimate step-by-step sequence, optimized for maximum longevity, visual dimension, and skin health.
Step 1. Skin Prep - The Vital Structural Foundation
The finest paint cannot compensate for a cracked, uneven canvas. Healthy, thoroughly hydrated skin is 80% of the secret to a professional makeup look. If your skin is dehydrated, it will literally suck the moisture out of your liquid foundation, leaving behind patchy pigments that cling to dry flakes.
-
How to do it - Start with a gentle, pH-balanced cleanser to remove excess oils accumulated overnight. Next, apply a targeted serum (such as hyaluronic acid for hydration or vitamin C for radiance). Follow immediately with a lightweight, nourishing moisturizer suited to your skin type. Let this sit for 3 to 5 minutes to absorb fully. If you are applying makeup during the day, finish with a broad-spectrum SPF 30 or higher, allowing it to dry down completely before moving to the next step.
-
Tip - If your skin feels sticky or wet, you haven't waited long enough. Your skin should feel plump and soft, not greasy.
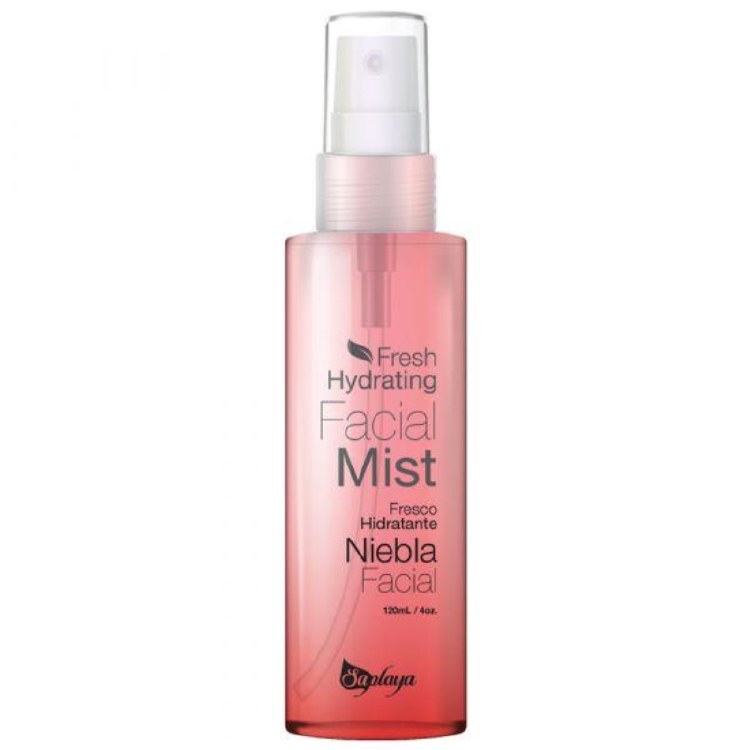
For the best skin prep and to keep your skin hydrated, try Saplaya Fresh Hydrating Facial Mist.
2. Primer - The Essential Canvas Barrier
Think of primer as the insurance policy for your face. Face primer performs three critical functions - it fills in microscopic fine lines and enlarged pores to create a physically smooth surface; it creates a defensive barrier that prevents your skin from absorbing your makeup; and it utilizes polymers to grip your cosmetic layers, dramatically extending their wear time.
-
How to do it - Dispense a dime-sized amount of primer. Focus the application primarily on areas where texture, large pores, or excess oil production occur, typically the T-zone (forehead, nose, and chin) and the inner cheeks. Smooth it outward using clean fingers.
-
Choosing your formula - Match your primer to your skin concern. Use a mattifying, clay- or silica-infused primer for oily skin, an ultra-hydrating hyaluronic primer for dry skin, or a color-correcting green primer to neutralize rosacea or active acne redness. The American Academy of Dermatology tells about choosing the right formulas for your skin type and checking product labels to ensure they match your specific needs.
-
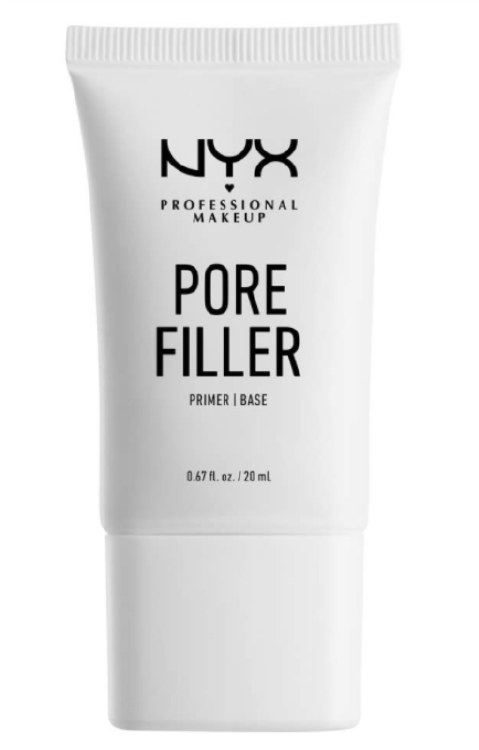
Most consumers look for a pore-blurring or pore-filling primer today. Beauty Depot Online has this NYX Pore Filler available for you to try.
3. Foundation or Tinted Moisturizer - Even the Canvas
Now that your canvas is completely prepped, it’s time to establish a uniform skin tone. Many beauty lovers mistakenly apply concealer first, but applying foundation first is far more efficient. Foundation is designed to do the heavy lifting of neutralizing general redness and minor discoloration. By establishing your base first, you will find you need significantly less concealer afterward, preventing a heavy, over-layered look.
-
How to do it - Dispense foundation onto the back of your hand to warm up the formula. Stipple the product starting from the center of your face, where redness and discoloration are typically concentrated around the nose and cheeks, and blend outward toward your hairline and jawline.
-
Tools Matter - For full, airbrushed coverage, use a dense, synthetic foundation brush. For a sheer, ultra-natural, skin-like finish, use a damp, bouncy makeup sponge to press and bounce the product into the skin rather than wiping it.
-
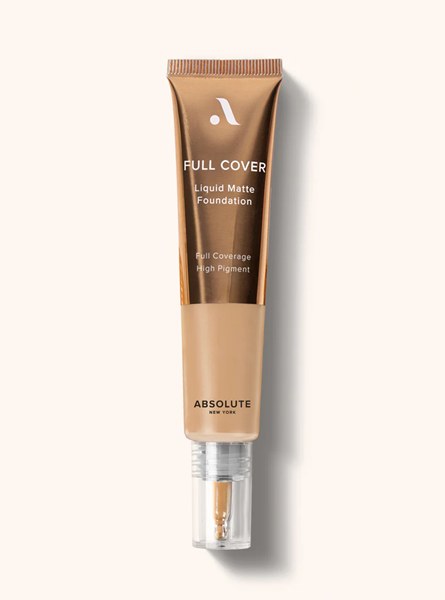
For medium-to-full coverage, get your hands on this Absolute Full Coverage Liquid Matte Foundation.
4. Concealer - Targeted Correction and Brightening
With your overall skin tone evened out, you can now use concealer as a precision tool for structural brightening and high-coverage spot correction.
-
How to do it - To brighten dark under-eye circles, choose a liquid concealer that is one to two shades lighter than your foundation. Apply it in an inverted triangle or precise upward strokes at the inner and outer corners of the eyes to create an optical lifting effect. For blemishes, hyperpigmentation, or dark spots, use a high-pigment cream concealer that matches your foundation exactly. Dab a tiny amount directly onto the blemish, let it sit for 60 seconds to build its coverage capacity, and then gently blend the outer edges with a small detail brush or your ring finger.
-
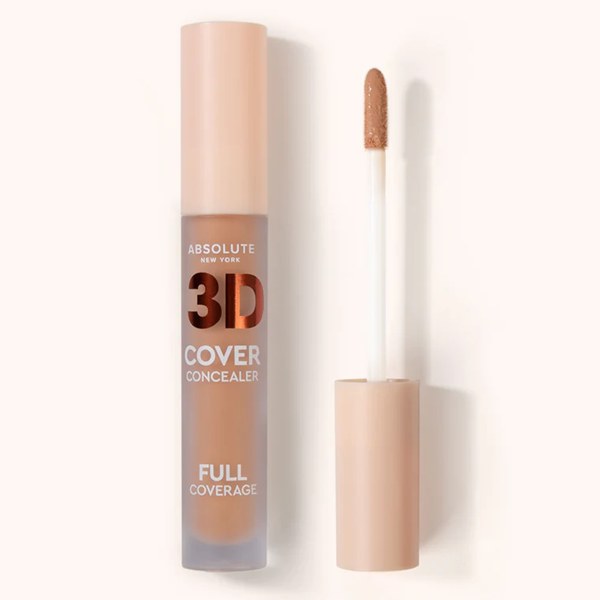
For a radiant, crease-proof look, try our new Absolute 3D Cover Concealer Full Coverage.
5. Cream or Liquid Contour & Bronzer - Constructing Dimension
Foundation and concealer create a pristine canvas, but they also flatten the natural planes and shadows of your face. To restore life, structure, and warmth, you must introduce dimension. Applying cream contour and bronzer at this stage, while your base is still wet, allows the pigments to melt seamlessly together without harsh lines.
-
The Difference Between Contour and Bronzer - This is a crucial distinction. Contour products are cool-toned, ash-grey taupes designed to mimic natural shadows and structurally sculpt your face (hollowing cheeks, sharpening jawlines). Bronzer products are warm, golden-brown tones designed to mimic where the sun naturally kisses your face, adding warmth and radiance.
-
How to do it - Apply cream contour in the hollows of your cheeks, along the jawline, and down the sides of the nose. Swipe cream bronzer across the high points of your face - the upper forehead, temples, and perimeter of the cheeks. Blend thoroughly upward using a damp sponge or an angled synthetic brush.
-
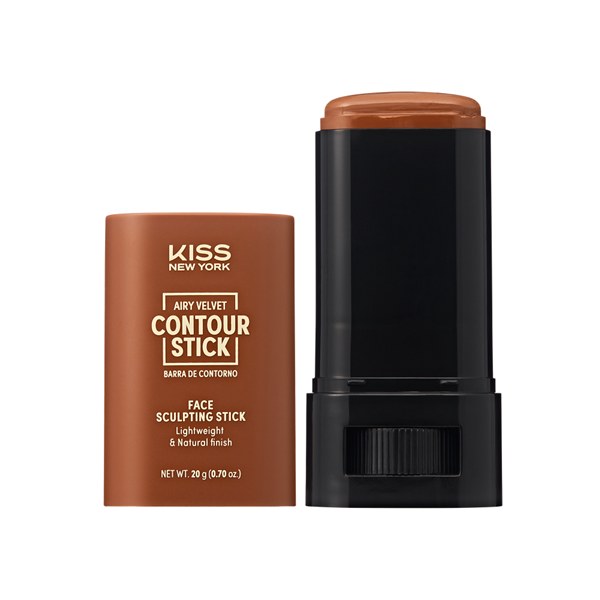
If you are up for a sculpting cream contour stick, nothing beats this Kiss Airy Velvet Contour Stick available at Beauty Depot Online.
6. Cream or Liquid Blush - The Youthful Flush
Blush infuses vitality, youth, and a healthy radiance back into your skin. Utilizing a liquid or cream formula directly over your cream bronzer yields an incredibly realistic, lit-from-within flush that mimics natural capillaries.
-
How to do it - Smile slightly to locate the apples of your cheeks. Dot your liquid or cream blush slightly above the apples, blending upward and outward back toward your temples and hairline. This placement creates a modern, lifted, and youthful appearance, whereas placing it too low can visually drag the face down. Gently tap with your fingers or a sponge until no harsh borders remain.
-
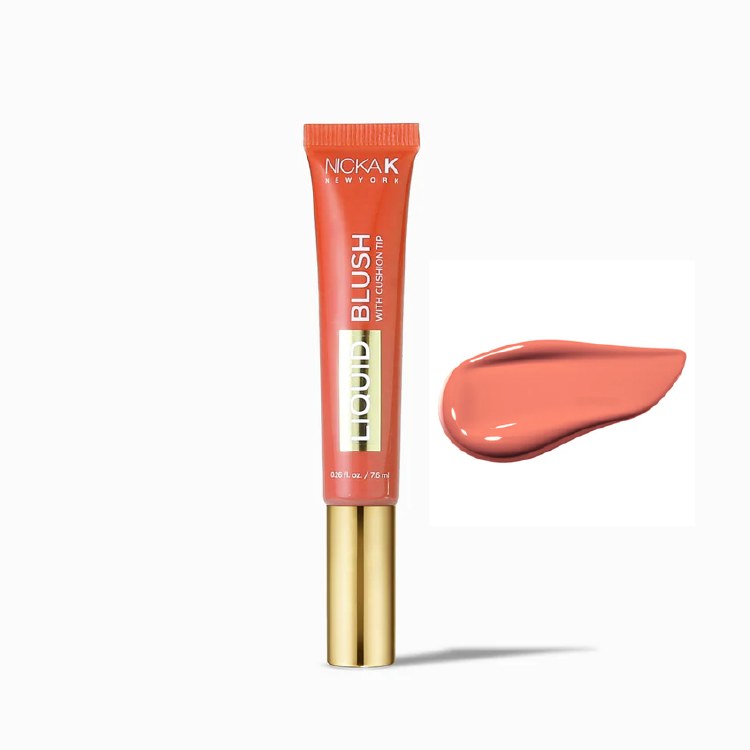
All you need is a liquid blush for a dewy finish, like this Nicka K Liquid Blush.
7. Setting Powder - Locking the Liquid Layers
This is the pivotal transition point of our makeup steps sequence. Every liquid and cream product is now flawlessly placed and blended. If you skip this step, these emollient formulas will shift, migrate into fine lines, and break down as your skin produces natural sebum throughout the day. Setting powder acts as an anchor.
-
How to do it - Take a finely-milled translucent setting powder. If you have oily skin or want an airbrushed finish, press the powder firmly into your T-zone and under-eye area using a soft powder puff. For normal to dry skin types, light dustings with a large, fluffy powder brush are ideal. Focus on high-movement zones - under the eyes, around the nostrils, the forehead, and the chin.
-
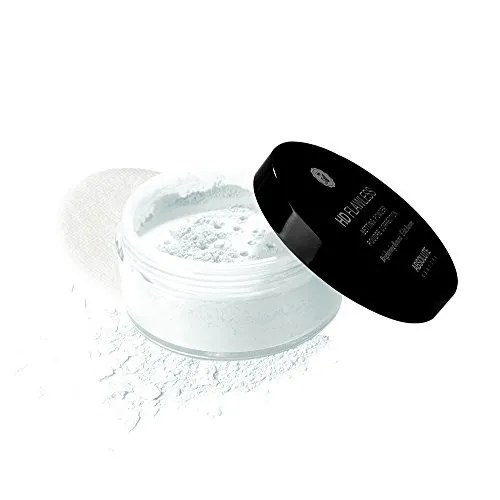
Beauty Depot Online has this translucent, finely-milled setting powder called the Absolute HD Flawless Loose Setting Powder for a perfect blend.
8. Powder Bronzer, Blush, and Highlighter - Amplification and Longevity
For individuals who desire extra depth, high-definition camera-readiness, or have oily skin types, this optional step is highly effective. Layering a matching powder product directly over a set cream product creates an interlocking barrier of color that will not fade, even in high humidity.
-
How to do it - Lightly sweep a powder bronzer directly over the zones where you blended your cream bronzer to deepen the warmth. Layer a powder blush gently over your cream blush. Finally, sweep a shimmering powder highlighter across the absolute highest structural peaks of the face - the tops of the cheekbones, the brow bones, the bridge of the nose, and the Cupid's bow. The powder highlighter will catch and reflect light beautifully.
-
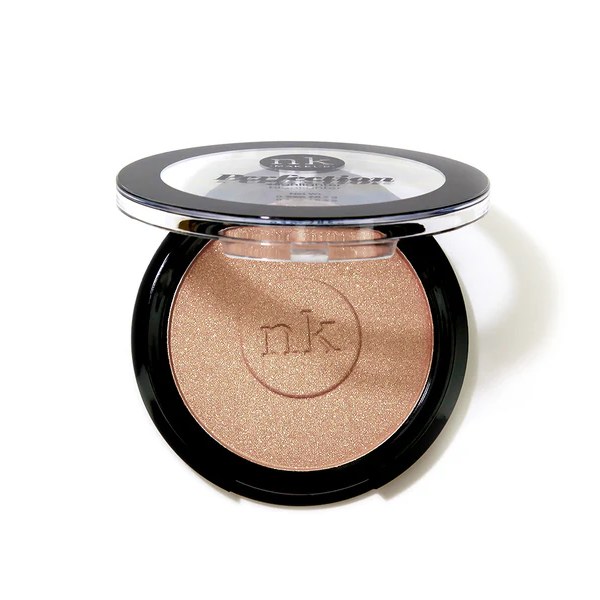
Try our luminous powder highlighter, the new Nicka K Perfection Highlighter.
9. Brows and Eyes - Framing and Drama
With the complexion fully secured, we move to the focal points of expression - your brows and eyes. A critical piece of insider advice on the makeup application order is doing your eyes after your face base. This order ensures that your foundation blends seamlessly across your eyelids and temples without disturbing complex eye designs. If you experience eyeshadow fallout (loose powder landing on your cheeks), you can easily sweep it away with a clean fan brush without ruining your flawless foundation base.
-
How to do it - First, frame your face by grooming your brows, fill in sparse areas with a precise brow pencil, and lock hairs in place with a clear brow gel. Next, apply an eyelid primer, followed by your eyeshadow design, eyeliner, and a coat of volumizing mascara.
-
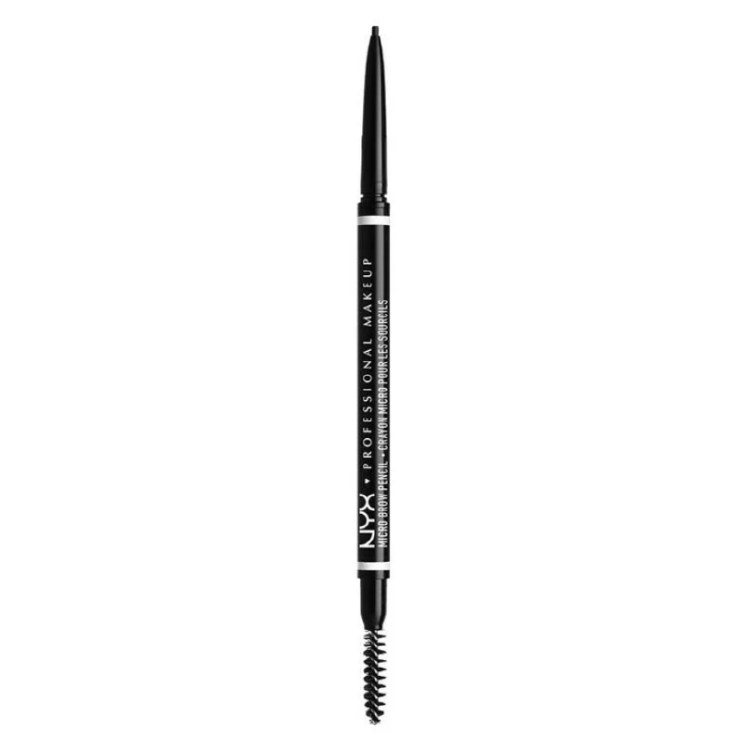
Beauty Depot Online has brought you a perfect volumizing precision brow pencil, NYX Micro Brow Pencil Black.
10. Lips - The Defining Balancing Act
Your lip looks to tie the entire color story of your face together. Waiting until the end allows you to balance the intensity of your lips against your eyes and cheeks so you never accidentally overdo it.
-
How to do it - Begin by gently exfoliating your lips. Define your natural lip shape and prevent your lipstick from bleeding or feathering into fine lines by tracing your perimeter with a long-wear lip liner. Fill in the lips with your favorite hydrating lipstick, matte liquid lipstick, or high-shine lip gloss to complete the aesthetic.
-
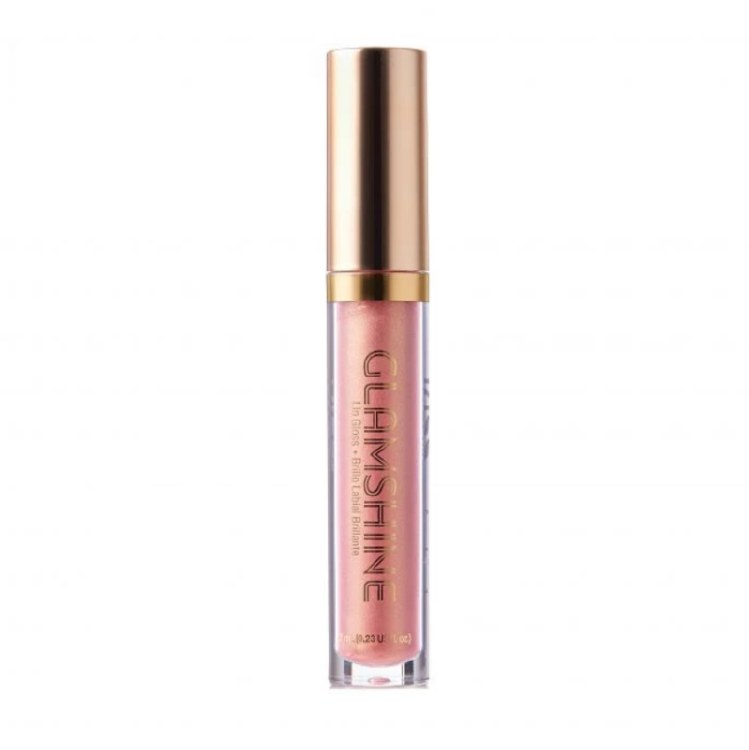
Beauty Depot Online suggests pairing a long-wear lip liner with a high-shine lip gloss like Kiss Glam Shine Lip Gloss Sunset.
11. Setting Spray - The Molecular Fusion
The final step in your order to apply makeup is the ultimate structural binder. Setting spray does not just sit on top of your makeup; it contains specialized polymers that create a flexible, microscopic matrix over your skin. This matrix melts the powder and liquid layers together, removing any residual powdery texture and forming an invisible, waterproof shield that resists sweat, friction, and environmental melting.
-
How to do it - Shake the bottle thoroughly to distribute the setting polymers. Hold the bottle approximately 8 to 10 inches away from your face. Close your eyes and mist lightly across your face in an X formation, followed by a T formation. Let it air dry completely without touching your face.
-
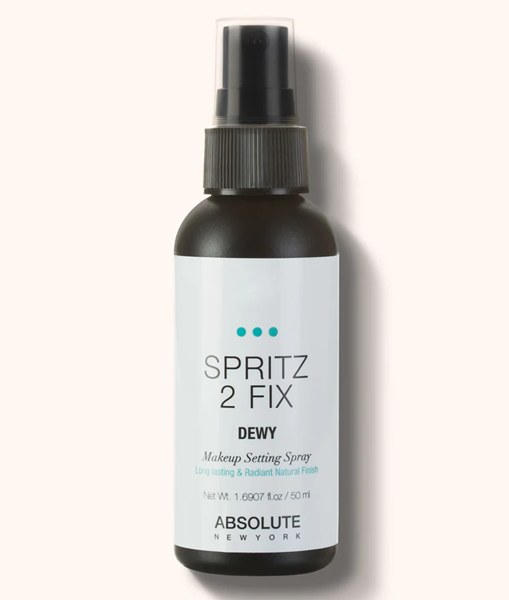
Now it's time to fix your makeup for an all-Day Dewy Setting Spray like Absolute Spritz 2 Fix Makeup Setting Spray - Dewy.
Troubleshooting Common Application Mistakes
Even with the correct order, simple execution errors can disrupt your look. Here is how to fix them:
What to Do If Your Eye Makeup Tends to Flake Off Heavy Powder
If you find that your intense smoky eyes or heavy glitter shades drop excessive amounts of highly pigmented powder onto your cheeks, adjust your makeup steps sequence slightly. It is perfectly acceptable to complete your Skin Prep (Step 1) and Primer (Step 2), skip directly to Brows and Eyes (Step 9), wipe away any pigment fallout with a makeup wipe, and then pick right back up with your Foundation (Step 3). This advanced technique is highly favored by professional artists working on dramatic evening makeup.
Addressing the Cakey Mask Effect
If your makeup looks heavy or cakey, it usually means too much powder was applied too quickly, or your liquid foundation dried down before it was fully blended. To fix this instantly, do not add more makeup. Spritz your face generously with a hydrating mist or your setting spray, and press a clean, damp makeup sponge firmly over the cakey areas. This re-emulsifies the product matrix and lifts away excess powder buildup.
Preventing Separation Around the Nose and Chin
If your makeup separates into distinct, oily patches after a few hours, look at the ingredients of your primer and foundation. A common mistake is using a heavy silicone-based primer underneath an ultra-lightweight water-based foundation. Silicone repels water, causing your foundation to literally slide off your face. Always pair water-based primers with water-based foundations, and silicone-based primers with silicone-based foundations.
Conclusion
Mastering the correct makeup application order transforms your beauty routine from a game of chance into a reliable, foolproof science. By respecting the structural progression of skin prep, strategic liquid coverage, seamless cream sculpting, and protective powder setting, you unlock a radiant, pristine complexion that stands up to the demands of your busy day.
Ready to elevate your beauty regimen with high-performance formulas designed to look flawless in any sequence? Explore our curated, professional-grade collections at Beauty Depot Online. From hydrating skin preps to industrial-strength setting sprays, we have everything you need to build your ultimate, personalized beauty routine.
For more expert beauty tutorials, ingredient analyses, and custom style guides, don't forget to bookmark the Beauty Depot Online and share this guide with your beauty-loving friends!