
How to Apply Makeup Like a Pro (Even If You're a Beginner)
Ever feel overwhelmed scrolling through makeup tutorials? You're not alone. The beauty industry offers endless choices and endless confusion for beginners. However, Beauty Depot Online has made beauty easier for you. From makeup by buying to applying, we have every solution you are looking for.
Getting started with makeup is easier than you think. While industry professionals spend years perfecting their craft, you can master the fundamentals and apply makeup being a beginner with pro-level skills by following these few simple, strategic steps.
The Non-Negotiable Skin Prep - Why Prep Matters?
Think of your face as a canvas. Just as an artist wouldn't paint on a dirty, unprepared surface, you shouldn't apply makeup to unprepared skin.
We’ve seen thousands of beginners struggle with 'cakey' makeup, and it almost always comes down to skipping skin prep. It further leads to a clumpy texture, uneven coverage, and makeup that fades by lunchtime.
Skin Prep for a Pro-Level Base
The secret to a pro finish makeup is the skin underneath that makeup. If your foundation looks patchy or disappears by 2 PM, your skincare routine is likely the culprit. To keep your base from sliding or pilling, follow this layering logic - apply products from the thinnest (water-based) to the thickest (cream-based).
1. The Clean Slate (Cleanse & Exfoliate)
-
Wash - Start with a mild, pH-balanced cleanser. If you’re getting ready for an evening event, try a double cleanse to ensure every trace of yesterday’s grit is gone.
-
Smooth - Once or twice a week, use a liquid exfoliant. Removing dead skin cells ensures your foundation sits on fresh skin rather than clinging to dry, flaky patches.
2. Hydrate and Balance (Tone & Target)
-
Tone - Use a milky toner or a hydrating essence to dampen the skin. Think of your skin like a sponge; it absorbs product much better when it's slightly moist rather than bone-dry.
-
Treat - Apply your serums now. Use Vitamin C if you want an instant glow, or Hyaluronic Acid if your skin feels tight.
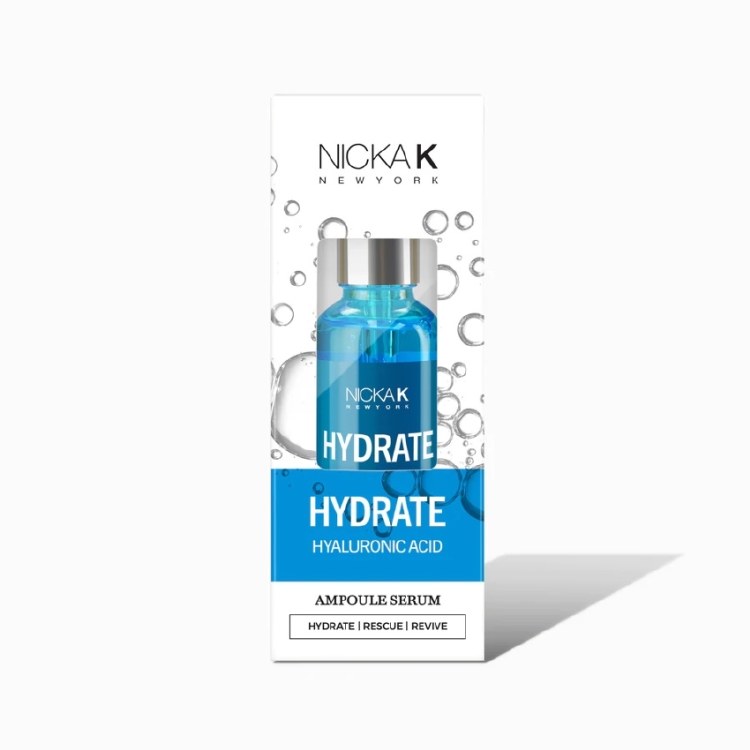
Try this Nicka K New York’s Hydrate Hyaluronic Acid Serum!
3. The Specialized Zones (Eyes & Lips)
-
The Orbital Bone - Gently tap a cooling eye gel around your eyes. This hydrates the thin skin there, which is the #1 way to stop your concealer from settling into fine lines (creasing).
-
The Lips - Don't wait until the very end to apply lip balm. Exfoliate your lips now and apply a hydrating treatment so it has 10 minutes to soak in before you apply lipstick.
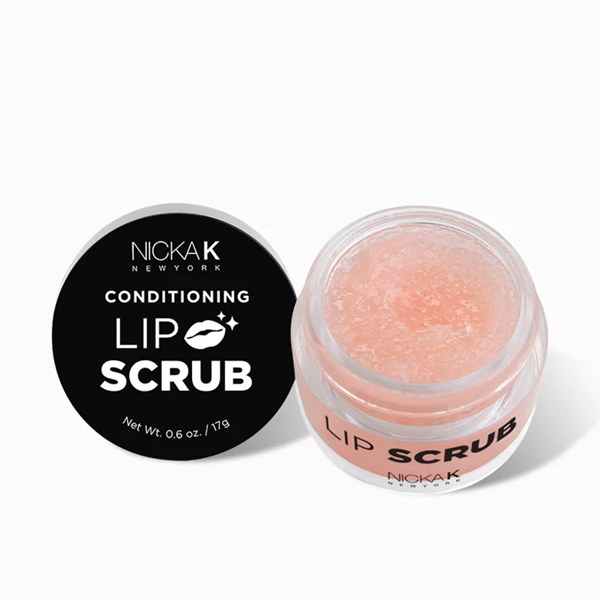
For better lip exfoliation, get your hands on this Nicka K New York’s Lip Scrub!
4. Seal and Shield (Moisturize & Protect)
-
Lock it in - Massage in a moisturizer that fits your biology. Gels are best for oily T-zones to prevent mid-day shine, while richer creams act as a buffer for dry skin.
-
The Final Barrier - Apply an SPF 50. Modern sunscreens are formulated to be grippy, meaning they protect you from the sun while acting as a secondary anchor for your makeup.
To moisturize your skin barrier, Ambi offers Daily Facial Moisturizer!

5. Primer (The Final Bridge)
Wait 2–3 minutes for your skincare to absorb, then apply a primer tailored to your needs. This is the glue between your skin and your makeup.
-
Pore-Filling - For an airbrushed, smooth texture.
-
Mattifying - To control shine in the T-zone.
-
Illuminating - For a dewy, lit-from-within look.
Beginner Pro-Tip! Always check your prep in natural light near a window. If your skin looks patchy or greasy now, your foundation will only highlight those issues. Besides, for a more detailed illustration, find a complete guide on beauty and makeup for beginners.
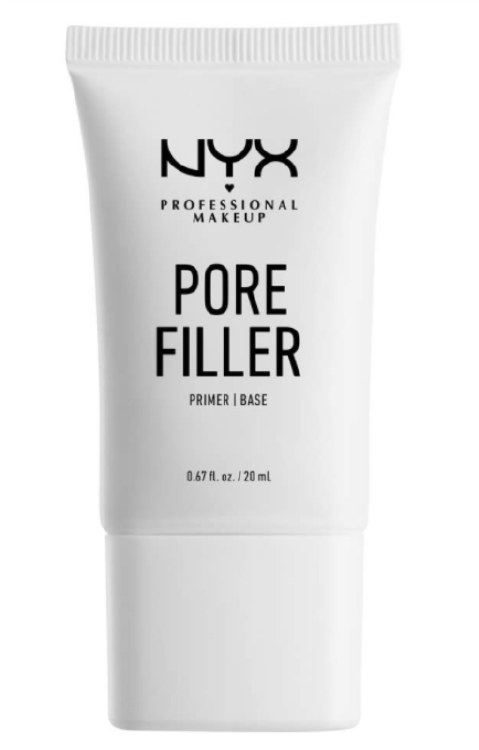
Most makeup artists prefer using the NYX Pore Filler Primer for a longer stay.
Choosing the Correct Product Base (Oil vs. Water)
Before we move forward with makeup application, know that choosing the right products also helps with achieving that expert finish. The reason your makeup might look great for an hour but then pill (roll into tiny balls) or separate is usually down to a basic chemistry clash - Oil vs. Water.
If you put a silicone-based foundation over a water-based primer, they will repel each other. It’s like trying to mix salad oil with water; it just won't bond. To fix this, you need to match your bases.
How to Identify Your Base
Check the first 2 or 3 ingredients on the back of your bottle:
-
Silicone-Based - Look for words ending in -cone, -siloxane, or -methicone (e.g., Dimethicone, Cyclopentasiloxane).
-
Water-Based - The first ingredient is Water (Aqua), and it will be free of the cones listed above in the top ingredients.
The Perfect Match Cheat Sheet
Use this guide to ensure your skincare, primer, and foundation are actually working together.
1. The Silicone Duo (Best for - Oily skin, large pores, long events)
Silicones create a smooth, velvet-like film that fills pores and stops oil from breaking through.
-
Skincare Prep - Use lightweight, fast-absorbing moisturizers. Avoid heavy oils, as they can make the silicone slide around.
-
The Primer - A silicone-heavy primer (like Elf Poreless Putty or Smashbox Photo Finish).
-
The Foundation - A silicone-based foundation (like Estée Lauder Double Wear or Maybelline Fit Me Matte).
2. The Water-Based Duo (Best for - Dry skin, acne-prone skin, no-makeup looks)
These feel like a second skin and let your pores breathe. They are hydrating and glowy.
-
Skincare Prep - Go heavy on the hydration! Use hyaluronic acid serums and milky toners.
-
The Primer - A water-based or grip primer (like Elf Power Grip or Milk Makeup Hydro Grip).
-
The Foundation - A water-based foundation or skin tint (like L'Oréal True Match Hyaluronic Tinted Serum).
Compatibility Table - What Works With What?
|
If your Primer is... |
And your Foundation is... |
The Result? |
|
Silicone |
Silicone |
Flawless. Maximum longevity and pore blurring. |
|
Water |
Water |
Dewy & Fresh. Very breathable and natural. |
|
Water |
Silicone |
Risky. It may look good at first, but it often slides off by noon. |
|
Silicone |
Water |
Disaster. Almost guaranteed to pill or separate immediately. |
Why Timing is Your Best Friend
Even if you match your bases perfectly, you can still get pilling if you rush. This is the Wait Rule for indexing-worthy results:
-
After Moisturizer - Wait 60 seconds for it to sink in.
-
After Sunscreen - Wait 2–3 minutes. Sunscreen needs to form a film to protect you.
-
After Primer - Wait 1 minute. If you apply foundation while the primer is still wet, they will mix into a muddy mess rather than layering.
If you aren't sure what base your products are, do a hand test. Mix a drop of your primer and foundation on the back of your hand. If they blend smoothly, they’re compatible. If it looks like curdled milk, they are repelling each other!
Prepare Your Makeup Tools
Before diving into the foundation application, understand that your tools significantly impact the final result:
-
Damp Beauty Sponge - This is the gold standard for beginners. It absorbs excess product so you don't end up looking cakey and provides a sheer, skin-like finish.
-
Foundation Brush - Best for full coverage. It packs more pigment onto the skin but requires more blending to avoid streak marks.
-
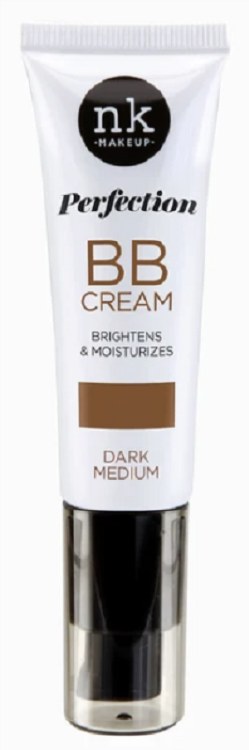
Clean Hands - Perfect for skin tints or BB creams. The warmth of your fingers helps the product melt into the skin. Try Nicka K Perfection BB Cream for dark to medium skin tones.
Hygiene Tip! Dirty tools are the #1 cause of unexplained breakouts. Wash your sponges and brushes once a week with a gentle soap to keep your skin clear and your application smooth.
Steps After Skin Prep (Making the Base of Your Look)
People often start with a concealer right after their skin prep, but this is the wrong order. Foundation first, then Concealer, and as an exception, use a color corrector even before the foundation. If you have dark circles or redness that foundation can't cover, use a color corrector before your foundation.
-
Green - Cancels out redness (acne or rosacea).
-
Peach/Orange - Cancels out blue or purple tones (dark under-eye circles).
-
Lavender - Brightens sallow or yellow skin.
Why?
The foundation’s job is to even out your skin tone. Once you apply it, you'll realize you actually need much less concealer than you thought. If you apply concealer first, your foundation brush will just move it around and rub it off, wasting the product.
Now that your skin tone is mostly even, use concealer only on the spots the foundation couldn't hide (like dark circles or a stubborn blemish). Color corrector is the exception to the rule because it is usually a strange color (peach, green, or lavender), and it must go under everything so the pigment can be neutralized.
Before the foundation/base…
Makeup Longevity Trick!
However, here’s the trick that most makeup artists use when applying makeup for longer hours:
After your corrector is dry, lightly mist your face with setting spray. Let it get tacky (slightly sticky), then apply your foundation. It acts like a double-sided tape that grips your foundation and keeps it from sliding, especially on oily skin or in humid weather.
You will know more about setting sprays and fixing sprays later in the blog post…
The Pro Sequence:
-
Color Corrector - Apply a tiny amount only to the discolored area (e.g., peach for blue dark circles, green for red acne).
-
Setting Spray - Lightly mist your face with setting spray now. Let the spray dry for about 10–15 seconds until it feels grippy before they go in with foundation.
-
Foundation - Gently stipple (tap) your foundation over the corrector. Do not swipe, or you’ll smear the corrector colors together.
-
Concealer - Apply over any areas that still need a bit of brightening or coverage.
Foundation Application for Beginners
This is the core skill every beginner needs to master when learning to apply makeup seamlessly. Here's your step-by-step approach:
Step 1 - Choose the Right Shade
-
Test foundation on your jawline in natural light, never on your hand
-
Your jawline naturally blends with both your face and neck
-
Consider your undertone - cool (pink), warm (golden), or neutral (balanced)
A quick cheat sheet for undertones.
-
Cool - Your veins look blue/purple; silver jewelry looks best.
-
Warm - Your veins look green/olive; gold jewelry looks best.
-
Neutral - You’re a mix of both; both gold and silver look great.
If you’ve ever found a shade that seemed light enough but looked orange on your face, you likely have a Cool undertone and wear a Warm foundation.
-
Wrong Undertone - The foundation will sit on top of your skin and look like a visible layer of paint.
-
Right Undertone - The pigments cancel out or blend with your natural hues, causing the makeup to virtually disappear.
Most modern brands label their bottles with a letter to help you narrow down the hundreds of choices:
-
C (Cool) - Best if your skin has hints of pink, red, or blue. These foundations often look slightly rosy in the bottle.
-
W (Warm) - Best if you have golden, peach, or yellow hues. These look more yellow or golden.
-
N (Neutral) - Best if you have a mix of both or no obvious pink/yellow. These are balanced and neither too peachy nor too rosy.
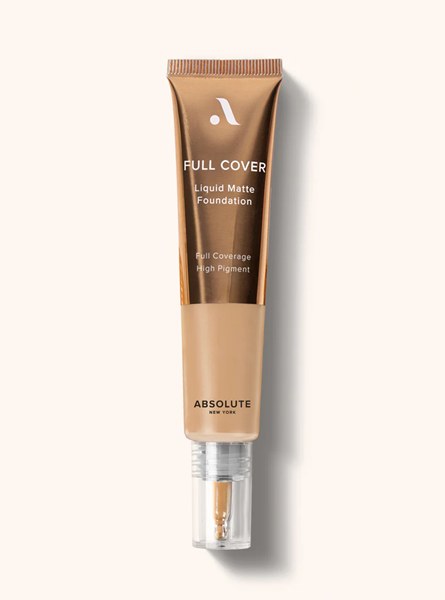
You can find your perfect shade with Absolute Full Coverage Liquid Matte Foundation.
Step 2 - Apply in Thin Layers
Start with a small amount; you can always add more. Apply foundation in the center of your face where you typically need the most coverage, then blend outward toward your jawline and hairline using gentle, sweeping motions.
Common Mistakes to Avoid
Studies show that applying too much foundation at once is a frequent beginner error, resulting in a cakey appearance. The thin layer rule is critical; build coverage gradually rather than applying heavily from the start.
Pro Application Technique:
-
Dot foundation on forehead, cheeks, nose, and chin
-
Blend from the center outward using your chosen tool
-
Pay special attention to the jawline, no visible lines
-
Blend down onto the neck if necessary for seamless color matching
Concealer For Targeted Coverage
Concealer is your secret weapon for a flawless complexion, but timing and technique matter.
When to Apply
Apply concealer after foundation, not before. Your foundation may provide enough coverage on its own, allowing you to use concealer only where truly needed for targeted correction.
Proper Technique
-
For Under-Eyes - Instead of a heavy triangle, place a small dot in the inner corner (to hide darkness) and a tiny swipe at the outer corner (aiming up toward the temple). This lifts the eye area without heavy product buildup.
-
For Blemishes - Use a shade that matches your foundation exactly. Dab it on, wait 30 seconds for it to get tacky, then blend only the edges.
-
The Golden Rule - Always tap or press your concealer into the skin. Rubbing or dragging will just remove the foundation you just applied.
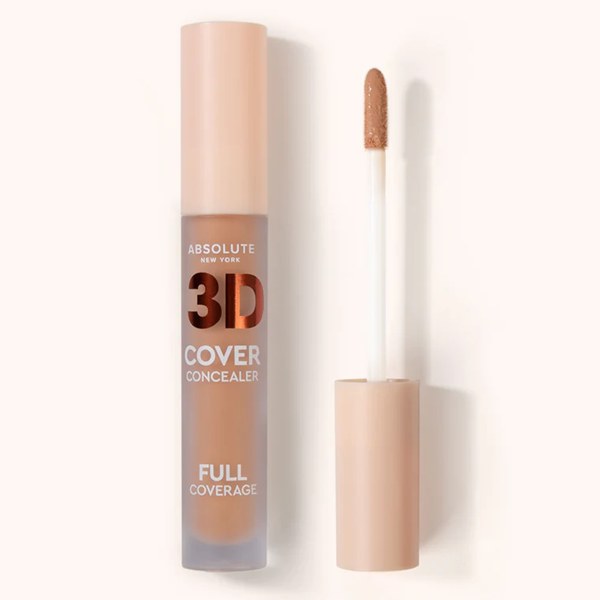
Expert Tip! Choose a concealer one to two shades lighter than your foundation for under-eye brightening, but match your exact foundation shade for blemish coverage. Choose among the 12 colors of Absolute 3D Cover Concealer Full Coverage.
Pro Tips for Specific Issues
-
For Dark Circles - Use a peach or salmon color corrector to cancel out blue/purple tones before applying concealer.
-
To Prevent Creasing - Avoid applying too much product right up against the bottom lash line.
-
For Redness - Use a green-tinted concealer to neutralize red spots before applying your matching foundation shade.
-
For Lifts - Apply a lighter shade only in the inner corner and up on the outer corner of the eye.
Setting the Base
The final step in your base routine determines how long your makeup lasts.
Targeted Powder Application
Rather than swirling a giant brush over your whole face, use a small, fluffy brush or a triangular powder puff to press powder only where you get shiny:
-
The T-Zone - Forehead, bridge of the nose, and chin.
-
Under-Eyes - Lightly press powder here immediately after blending concealer to prevent creasing.
-
The Glow Zone - Leave your cheeks powder-free. This keeps your skin looking healthy and radiant, allowing your blush and highlighter to blend more naturally.
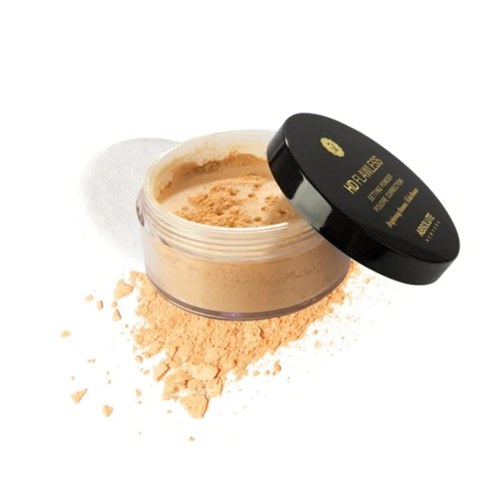
Why This Matters? Over-powdering is a common mistake that can emphasize dryness, settle into fine lines, and make skin appear older. Strategic powder placement ensures longevity without sacrificing the natural, skin-like finish beginners should aim for. For this strategic placement, you might need this Absolute HD Flawless Loose Setting Powder.
Adding Dimension and Color (Blush, Bronzer, & Glow)
Cheeks and Face Dimension
Now that your base is perfected, it's time to bring your face to life with color and dimension, essential beauty application tips that elevate your look.
Blush For Natural Flush
The idea of smiling to gently locate the apples of your cheeks is outdated. When you stop smiling, your cheekbones come down, making your face look saggy. Try the Two-Finger Rule to keep your face looking lifted. Avoid applying blush too close to your nose. Place two fingers next to your nose; start your blush application after that point, blending upward toward your temples.
-
Apply blush with a light hand using sweeping motions
-
Build gradually, you can always add more
-
Blend upward toward your temples for a lifted effect
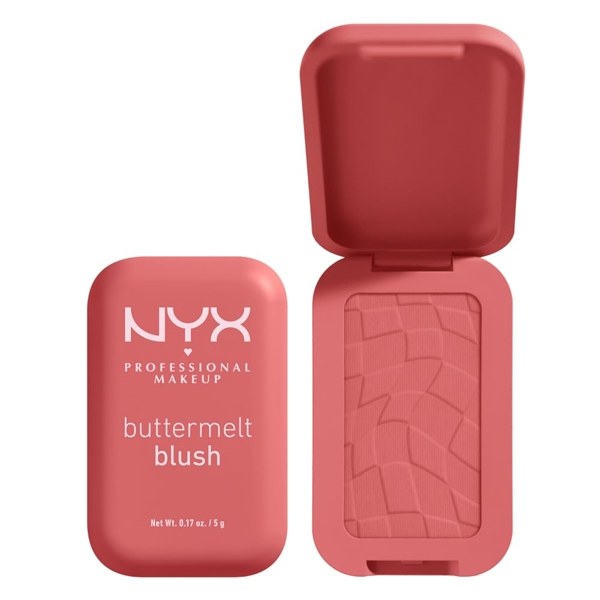
Natural and organic beauty products are growing 10% annually, reflecting consumer preference for subtle, skin-enhancing looks over heavy makeup. Consumers also prefer the high pigments of this NYX Professional Makeup Buttermelt Blush.
Bronzer & Highlighter - Quick Dimension Tips
These beauty application tips for beginners create a professional-looking dimension:
Bronzer Application:
-
Apply to areas where the sun naturally hits - forehead, temples, cheekbones, nose bridge
-
Use the 3 technique - Sweep your brush in a 3 shape, starting at the temple, curving under the cheekbone, and ending along the jawline. This adds instant depth.
-
Choose a shade only 1-2 tones darker than your skin.
Highlighter Application:
-
Target the high points of your face where light naturally reflects
-
Key areas - cheekbone tops, brow bones, nose bridge, cupid's bow
-
Tap gently with your ring finger or a small brush
-
Less is more, build up gradually for a natural glow
Common Mistake! Applying bronzer and highlighter without blush creates an unbalanced look. The three work together to create dimension, bronzer adds warmth and depth, blush adds life, and highlighter brings light. This new Nicka K Perfection Highlighter in copper shade can be your go-to bronzer/highlighter.

Eye Makeup Basics
Eye Prep - The Foundation
Use an eye primer before shadow to ensure your eye makeup lasts all day without creasing. This step is especially crucial for beginners, as it makes blending easier and colors more vibrant.
Eyeshadow - Simple Technique
You don't need a 20-shade palette to look like a pro. Stick to the following:
-
The Base - Use a neutral shade that matches your skin tone across the entire lid.
-
The Crease - Use a slightly darker matte shade in the socket (the crease of your eye). Use a fluffy brush in a windshield-wiper motion to blend away any harsh lines.
-
The Pop - Use your ring finger to tap a light, shimmery shade onto the center of your lid to catch the light.
-
Edges - Build depth gradually with slightly darker shades
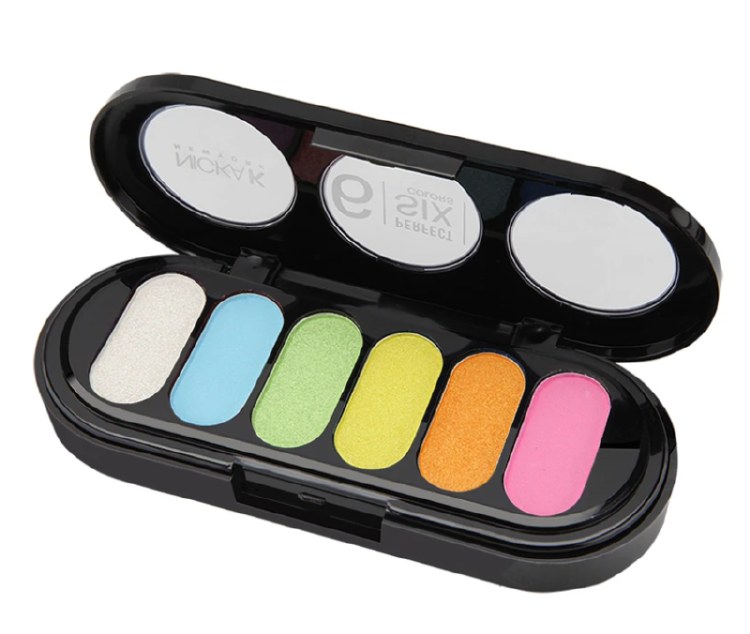
Beginner-Friendly Tip! Stick to 2-3 complementary shades until you gain confidence. Complex eye looks come with practice; master the basics first. If you love colors, get the Nicka K Perfect 6 Eyeshadow Palette today.
Mascara - The Eye-Opening Finish
-
Wiggle the wand at the base of your lashes, then sweep upward
-
Apply one to two coats on the top lashes
-
Lightly coat bottom lashes for balance
-
Use a clean spoolie to separate any clumps
Avoid the clumps and let your eye speak volume with Kiss Long N Volume Waterproof Mascara.

Don't Forget the Brows
Brows frame your face. If you’re a beginner, just use a tinted brow gel. Simply brush the hair upward and outward. It fills in gaps and keeps them in place all day.
Lips - The Final Step
The Perfect Lip Routine
Complete your look with lip color, the finishing touch that ties everything together.
-
Prep - Your lips are already exfoliated from earlier
-
Moisturize - Apply lip balm and let it absorb
-
Color - Choose your finish, gloss for shine, tinted balm for subtle color, or lipstick for full coverage
-
Define - Use a lip liner for longer-lasting color and to prevent feathering.
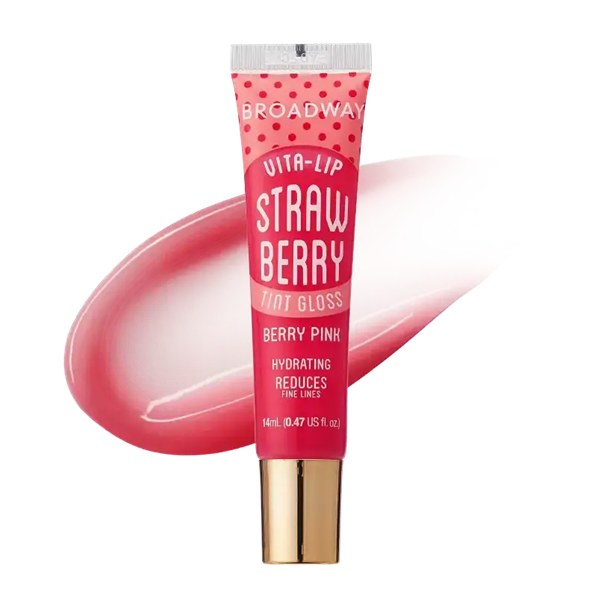
Application Order Matters - Always finish with lips. This prevents you from accidentally smudging lip products while working on other areas of your face. Also, beginners should start with a tinted balm or gloss; they are more forgiving and don't require the precision of a matte red lipstick. For a minimal look, Broadway’s Vita-Lip Tint Lip Gloss is perfect in the strawberry shade.
Pro-Level Beauty Application Tips for Longevity
Even the best makeup application won't last if you don't lock it in. To transition from a beginner to a pro, follow these three golden rules for wearability.
The Thin Layer Rule - Building Coverage Gradually
Never apply a full pump of foundation or a thick swipe of concealer all at once. Professional artists build coverage in micro-layers. This technique prevents the dreaded cakey appearance that screams beginner mistake. Thin layers allow your skin to breathe and prevent the product from floating on top of your pores. If you need more coverage on a specific spot, add a second tiny layer only there, rather than thickening your entire face.
Why It Works:
-
Allows natural skin texture to show through
-
Makes blending easier and more forgiving
-
Creates a more realistic, skin-like finish
-
Prevents product waste
Spray vs. Powder
For maximum longevity, you don't have to choose between spray and powder; you should use them strategically.
-
The Setting Spray Mist - Hold the bottle 8–10 inches away and mist in an X and T pattern. This melts your powders into your creams, removing any chalky finish and giving you a unified, skin-like glow.
-
The Precision Dusting - Instead of dusting powder over your entire face (which can dull your natural radiance), use a small, fluffy brush to press powder only into your T-zone and under-eyes. Pressing the powder sets the makeup, whereas sweeping it can actually move the foundation underneath.
The Quality Rule - Consistency is Key
You don't need a 50-piece brush set or a drawer full of expensive palettes. As a beginner, focus on:
-
The Essentials - One high-quality damp sponge, one fluffy blending brush for eyes, and one tapered powder brush.
-
The Consistency - Makeup is a muscle memory skill. Don't save these techniques for special occasions. Practicing your 10-minute base routine daily is the fastest way to understand how products react to your specific skin type.
If you find your makeup still looks heavy at the end, take your damp beauty sponge (the one you used for foundation) and gently press it over your finished look after you’ve applied your setting spray. This stamps everything into the skin for the most natural finish possible.
Setting Spray vs. Fixing Spray - What’s the Difference?
One of the most common mistakes beginners make is using these two products interchangeably. While they both come in a mist bottle, they serve completely different purposes in your routine.
The Setting Spray (The Melter)
Think of setting spray as the final touch for your texture. Its primary job is to remove that powdery or chalky finish that often happens after applying foundation and setting powder.
-
How it works - It contains water and glycerin that help melt all the layers of your makeup together into one cohesive, skin-like finish.
-
When to use it - Use this when you want your makeup to look natural, dewy, and less like makeup.
To melt and blend the colors, we have NYX Professional Makeup’s The Face Glue Makeup Setting Spray.

The Fixing Spray (The Sealant)
Think of fixing spray as the topcoat for your face. These formulas usually contain alcohol or polymers that create a literal waterproof film over your makeup.
-
How it works - It fixes the makeup in place so it won't smudge, transfer onto your clothes, or melt off in the heat.
-
When to use it - Use this for long workdays, weddings, or nights out when you need your look to stay bulletproof for 12+ hours.
Professional Makeup Tip! The Sandwich Method for 24-Hour Wear
If you have a major event and need your makeup to survive anything, use the Sandwich Technique:
-
Step 1 - Apply your foundation, concealer, and powder.
-
Step 2 - Use a Setting Spray to melt the layers together and make them look like skin.
-
Step 3 - Apply your blush, bronzer, and highlighter.
-
Step 4 - Finish with a Fixing Spray to seal the entire masterpiece behind a smudge-proof barrier.
If the bottle says Hydrating or Dewy, it's likely a Setting Spray. If it says All Nighter, Matte, or Long-wear, it’s likely a Fixing Spray.
Key Takeaways
-
Prep is everything - Clean, moisturized skin is the foundation for flawless makeup.
-
Order matters - Follow the correct sequence from skincare through color application.
-
Tools transform results - Quality brushes and sponges make application easier.
-
Build gradually - Thin layers prevent cakey makeup and look more natural
-
Blend, blend, blend - Seamless blending is the hallmark of professional application
-
Natural light is your friend - Always check your makeup in daylight before leaving
-
Practice builds confidence - The more you apply these techniques, the easier they become
Frequently Asked Questions
How long does it take to learn how to apply makeup as a beginner?
Most beginners can master basic makeup application within 4-6 weeks of consistent practice. Focus on perfecting one technique at a time, start with foundation and concealer, then gradually add eye makeup and face dimension. Remember, even professional makeup artists continually refine their skills. With daily practice, you'll notice significant improvement within your first month.
What are the most essential products for beginners learning to apply makeup?
Start with these five essentials - (1) a good primer, (2) foundation or tinted moisturizer matching your skin tone, (3) concealer for targeted coverage, (4) mascara to enhance lashes, and (5) a neutral blush. These basics allow you to create a polished, natural look. As you gain confidence, gradually add eyeshadow palettes, bronzer, highlighter, and lip products to expand your options.
How can I avoid common beginner makeup mistakes?
The most common mistakes include skipping skincare prep, choosing the wrong foundation shade, applying too much product at once, and neglecting to blend properly. Always test foundation in natural light, use thin layers, invest in quality blending tools, and practice regularly. Additionally, clean your makeup brushes weekly to prevent bacteria buildup and breakouts.
Should I apply makeup in a specific order?
Yes! The proper order ensures better application and longer-lasting results. Follow this sequence - (1) skincare and primer, (2) foundation, (3) concealer, (4) setting powder (targeted areas only), (5) bronzer and blush, (6) eyeshadow and mascara, (7) highlighter, and (8) lips. This order prevents smudging and allows each layer to set properly.
How do I choose the right foundation shade for my skin tone?
Test foundation on your jawline, not your hand or wrist, in natural daylight. Your jawline naturally matches both your face and neck. Choose a formula based on your skin type - hydrating for dry skin, matte for oily skin, or satin finish for combination skin. If you're between shades, purchasing two and mixing them creates a custom match perfect for your complexion.
What beauty application tips help makeup last all day?
For long-lasting makeup - (1) start with properly moisturized skin and primer, (2) apply thin layers rather than heavy coverage, (3) set with powder in oily-prone areas only, (4) use setting spray as your final step, (5) choose long-wearing formulas, and (6) avoid touching your face throughout the day. These techniques can extend your makeup wear from 6-8 hours to a full 12+ hours.
How do I know which beauty products to buy as a beginner?
Start with versatile, multi-use products that offer the most value. Look for neutral eyeshadow palettes, cream blush that works on lips, and foundation with buildable coverage. Research products with high ratings in your budget range; the makeup industry offers quality options at every price point. Consider starting with drugstore basics while learning, then upgrading to premium products once you understand your preferences.
What's the difference between drugstore and high-end beauty products?
Both drugstore and high-end products can deliver excellent results. High-end products often offer more shade ranges, refined textures, and luxurious packaging. However, many drugstore brands now feature innovative formulas that rival premium options. As a beginner, focus on products that match your skin type and concerns rather than price tags. Many professional makeup artists use a mix of both in their kits.
Conclusion
Congratulations! You now have all the essential knowledge needed to confidently apply makeup that beginners can master. Let's recap the main steps:
-
Prep - Cleanse, moisturize, prime, create the perfect canvas
-
Foundation - Apply in thin layers, blend seamlessly
-
Color - Add dimension with blush, bronzer, highlighter
-
Set - Lock everything in place with powder or spray
With these beauty application tips and an understanding of how to use beauty products correctly, you're equipped to create beautiful, natural looks every single day.
Remember, practice makes perfect. Every makeup application is an opportunity to refine your technique. Don't get discouraged if your first attempts aren't Instagram-worthy; even professional makeup artists started exactly where you are now.
Start with the beauty basics outlined in this guide, practice regularly, and build your confidence one technique at a time. As you master each step, you'll discover your unique style and preferences.
What is the first product you plan to try these techniques with? Beauty Depot Online has everything you need to become a pro at makeup.